Benifit - Easy web notification widgets
TABLE OF CONTENTS
Introduction to Benifit.app
On this page, you can find the needed documentation for you to start, fully install and configure our product. Take advantage of our simple step-by-step guides, How-To, Release notes, and a lot more. If you are stuck at any point and need our help then please create a support ticket and we will be more than happy to assist.
Benifit.app is an easy to use SaaS platform for creating beautifully crafted interactive website widgets. There are no coding skills or steep learning skills required to use our product. Just add one line of our pixel code to your existing website and you can easily create and manage notifications on your website.
With Benifit you can create 20+ types of interactive widgets for your website. These widgets help you to increase conversion rate and also growth. Read the below article for the different types of available widgets on benifit.app.
Creating An Account
- Go to https://benifit.app
- Signup using any of the suitable plan (FREE | PLUS | PRO)
- If you are selecting any paid plans then you can make payment via Paypal or Stripe
Note: You don't need a Credit Card to use the Free plan. Also, for all paid plan we do not store any of your credit card details. Payments and renewals are processed directly on the PayPal or Stipe website.
Creating Campaigns
Campaigns - Creating a campaign is the first step to build your website widget on Benifit. And, this the only step where you need to copy and paste one single line of code/script to your website </head> section.
Based on the plan you have selected you can create one, multiple or unlimited campaigns. If you have multiple websites then you should create separate campaigns for each of these websites.
Step 1: Click on the Dashboard Menu

Step 2: Click on the Create Campaign button

Step 3: Add Campaign Parameters
1) Name: Enter the name of your Website / Campaign
2) Domain: Enter the domain name of the website where you want the notification to show.
3) Include Subdomains: Select this option if you want to show the notification on your subdomains as well.
4) Create: Press the Create button to generate your 'Pixal' code.

Step 4: Add Pixel Code to Website
Note: This is the only section where you may require assistance from your webmaster to place the pixel code before the </head> section of your website. Please read the provided articles on how to add the tracking code on different types of Websites.
Copy and paste the unique Pixel JS Code Snippet before the end of the </head> tag of your website.
Read the detailed FAQ and Examples of Adding Pixel Code to your Website here.Creating Campaign Notification Widgets
Campaign Notification - This is where you can create notification widgets for your campaigns. Choose from a wide variety of smart notification widgets available; from a simple 'SALE' notification to 'Singing up' for newsletters.
You can set up many interactive widgets under one single Campaign. Find below quick setup details on how to set up a SALE Notification widget.
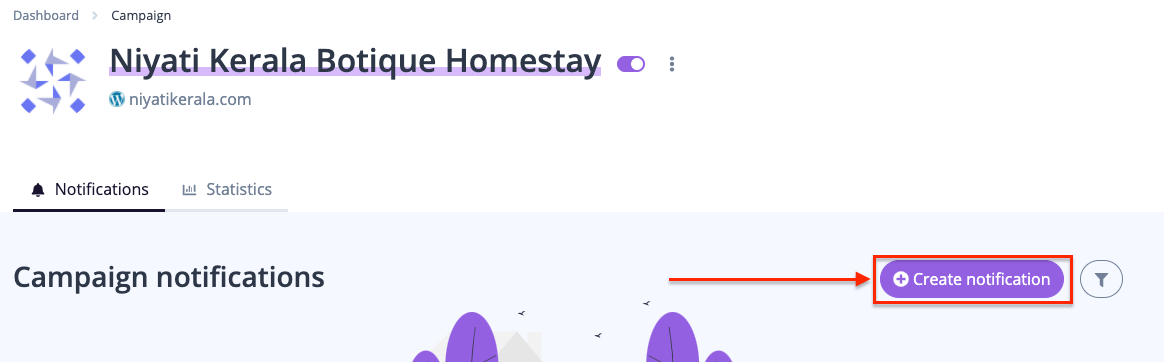
Step 1: From the dashboard click on your 'Campaign'

Step 2: Then click on 'Create Notification'
Step 3: Select the Type of Notification you want on your website. In this case, we select 'Informational' as an example. You can also see the preview of the selected notification type.
Scroll down and then click on the 'Create' button and then customize the newly created widget.


Step 4: Further customize the selected notification widget as per your requirement. You can also see a live preview of how the widget will look like on your website.

Step 5: Make sure to Enable your Campaign once it is created otherwise the widget will not appear on your website.


Below Example on how the newly created and enabled notification appears on your website.
Note: If you have any questions or need any assistance then please create a support ticket or write to use at support@benifit.app